


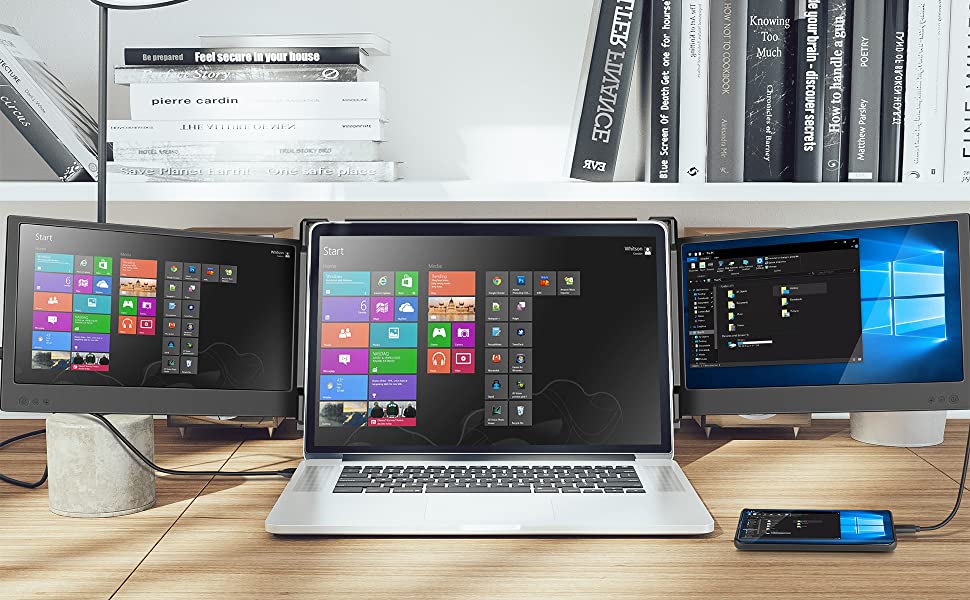


The quality of the product is great. The quality and clarity of the monitors are awesome. I have 2 different laptops, Asus and Dell. The Asus is old, the Dell is about 1 year old. It work great with both systems. Hooked up very easy and quickly on both systems. There are great directions in the package which are very easy to follow. This item makes it very easy to allow you to have 3 screens easily and quickly, the size is great for the versatility of the product. Very light weight for considering you have 3 monitors. Price is great and thinking of buying one for my wife! I am very please with my purchase.
Contains at least 50% recycled material.
As certified by
Global Recycled Standard
Global Recycled Standard
Global Recycled Standard (GRS) certified products contain recycled content that has been independently verified at each stage of the supply chain, from the source to the final product and meet social, environmental, and chemical requirements. The purchase of Global Recycled Standard (GRS) certified products supports the use of recycled content in the supply chain. A product must contain at least 50% certified GRS material to qualify for Climate Pledge Friendly.
Certification Body
GCL International Ltd.
Certification Number
TE-00297707


